Views: 0 Author: Site Editor Publish Time: 2025-07-01 Origin: Site


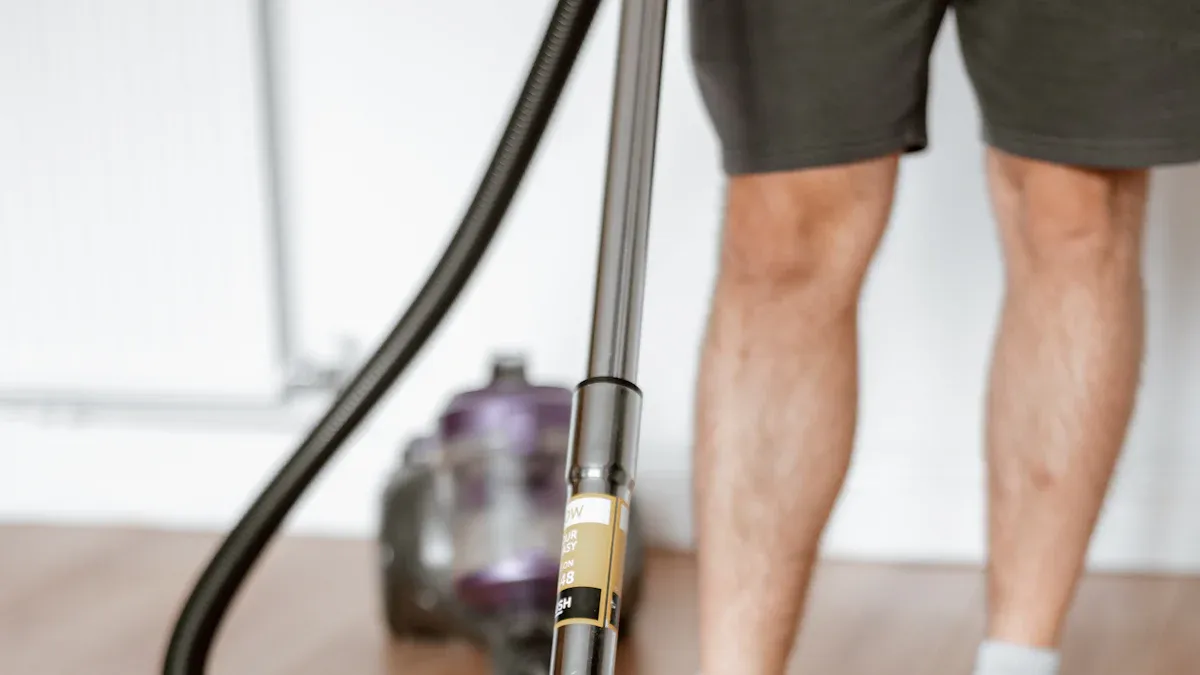
Image Source: pexels
Cleaning wood after sanding keeps your project safe and protects your health. If you leave dust or particles, the finish can feel rough and not stick well. You should clean wood after sanding at every step. First, take off loose dust. Then use a tack cloth or vacuum to get small particles. Cleaning wood after sanding also stops dust from floating in the air. This can help you avoid breathing problems. Always clean wood after sanding before you put on any finish. This gives you the best results.
Always clean wood after sanding to get rid of dust. Dust can mess up your finish and hurt your health. Use a vacuum, then wipe with microfiber cloths. Use tack cloths to pick up all the dust. Put on mineral spirits or denatured alcohol at the end. This helps get the wood ready for a smooth finish. Look at the wood at eye level with good light. This helps you see any dust you missed before finishing. Finish your project soon after cleaning. This stops new dust from landing and gives you the best results.
You need to focus on cleaning wood after sanding because dust and debris can ruin your project. When you sand wood, tiny particles settle on the surface. If you skip removal, these particles stay trapped under the finish. This can make the wood look dull or uneven. A local craftsman always spends extra time on cleaning wood after sanding. His careful removal of dust helps him create flawless finishes on custom tables. You can follow his example to get the best results.
Tip: Always check the wood at eye level after cleaning. You may spot dust that you missed.
Proper cleaning wood after sanding gives you a smooth and even finish. Dust left behind can cause bumps, streaks, or cloudy spots. You want your finish to stick well and look great. Use several removal methods for the best results:
Vacuum the surface with a shop vacuum or air compressor.
Wipe with a clean white cloth.
Use a tack cloth to pick up fine dust.
Try mineral spirits for gentle cleaning without swelling the wood.
For tough stains, use trisodium phosphate cleaner.
Complete the finish soon after cleaning. This stops new dust from settling on your project. Clean wood after sanding always leads to a better final look.
Cleaning wood after sanding also protects your health. Fine dust can float in the air and spread around your workspace. Many small shop dust systems do not catch all the fine particles. Breathing in wood dust can cause serious health problems:
Allergic reactions and skin rashes
Chronic cough and breathing trouble
Lung diseases like fibrosis and silicosis
Higher risk of cancer, especially from hardwood dust
Older adults, children, and people with lung or heart issues face more danger. The EPA and OSHA set strict limits for dust exposure. You should always wear a mask and use good removal tools during cleaning. This keeps you safe while you work.
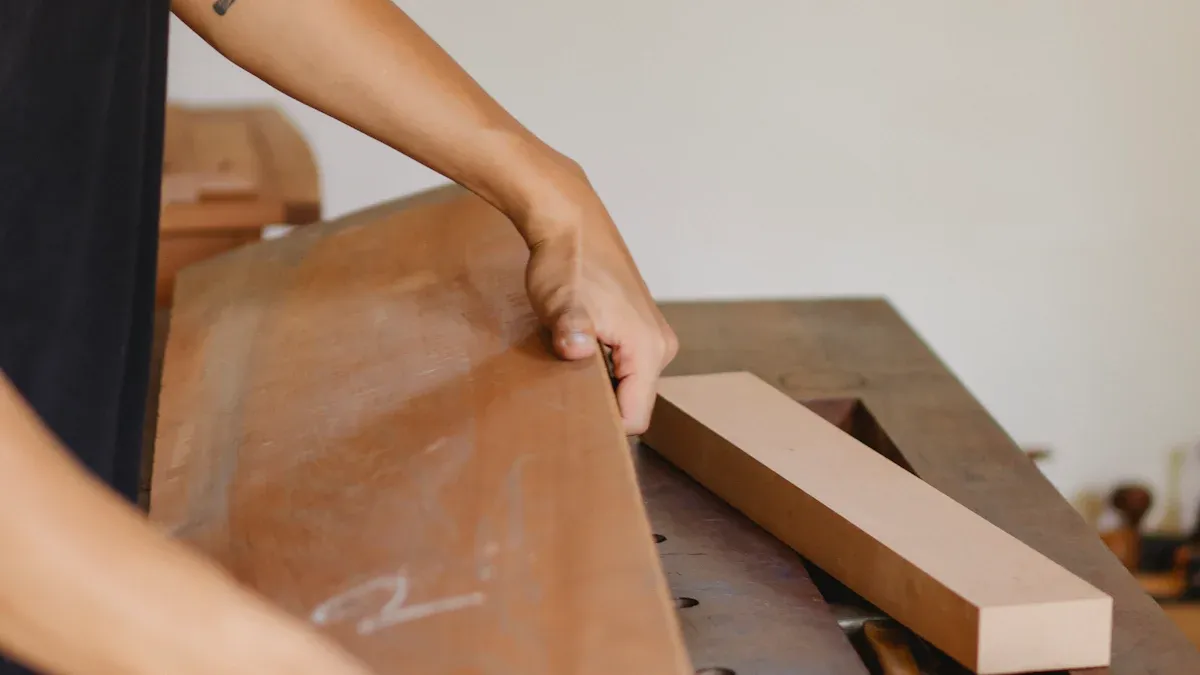
Image Source: pexels
You need the right vacuum for cleaning up dust after sanding. Experts recommend a shop vacuum with a HEPA filter. This type of vacuum traps fine dust and keeps it from floating back into the air. A soft-bristle attachment helps you avoid scratching the wood. For carved or detailed areas, use small paint brushes or an air compressor at low pressure. Brushes reach into crevices where vacuums cannot. The brushing action lifts dust, making removal more effective. HEPA vacuums work best when all air passes through the filter. If air leaks, more dust escapes. The chart below shows how system efficiency drops if the vacuum is not sealed well.

Tip: Always check your vacuum for leaks and replace worn brushes to keep cleaning strong.
After vacuuming, you should wipe the wood with a microfiber cloth. Microfiber traps dust without scratching and does not leave residue. You can wash and reuse these cloths, making them a smart choice for cleaning up dust. Tack cloths are sticky and pick up the smallest particles. Use a light touch with tack cloths to avoid leaving sticky residue that can affect your finish. Replace tack cloths often because they clog quickly. Microfiber cloths do not clog and are better for the environment. Both tools help you remove dust before finishing.
Sometimes, you need more than just dry removal. For oily woods or stubborn grime, use mineral spirits or denatured alcohol. These cleaning agents remove dust and oils, leaving the surface ready for finishing. Denatured alcohol dries fast and does not swell the wood. If you need to remove grime from old wood, use diluted trisodium phosphate (TSP). Always wear gloves and work in a ventilated area when using these products. Choose your cleaning agents based on the wood type and the kind of finish you plan to use.
Note: Picking the right removal tools and cleaning agents for your project ensures a smooth, safe, and lasting finish.

Image Source: pexels
Start by setting up your workspace for cleaning. Move your wood project to a clean, dust-free area. Lay down a drop cloth or plastic sheet to catch any dust that falls. Make sure you have good lighting so you can see every part of the surface. Open windows or use a fan to keep air moving. This helps keep dust from settling back on your wood. Wear a dust mask and gloves to protect yourself during the cleaning process.
Tip: Keep your tools and supplies close by. This helps you work faster and keeps the area organized.
Begin the cleaning process by removing loose dust from the wood. Use a shop vacuum with a HEPA filter for the best removal. Move the vacuum slowly over the surface. Pay extra attention to corners and grooves. For carved or detailed areas, use a soft paintbrush to loosen dust before vacuuming. This step helps you remove sanding dust that can ruin your finish. Always check the vacuum for leaks to make sure it traps all the dust.
After vacuuming, wipe the wood with a clean microfiber cloth. Microfiber traps fine particles and does not scratch the surface. Wipe in the direction of the wood grain. This helps you pick up any dust left behind. Once you finish wiping, inspect the wood at eye level. Look for any spots where you might need more cleaning. Good lighting makes it easier to see dust you missed. Repeat this step if you still see dust.
Note: Cleaning up dust between each step gives you a smoother finish and prevents problems later.
Next, use a tack cloth to remove dust that the vacuum and microfiber cloth missed. Gently drag the tack cloth over the wood. Do not press too hard, or you might leave sticky residue. Replace the tack cloth when it feels clogged. Tack cloths work well for picking up the smallest particles. This step ensures you remove dust before applying any finish. If you skip this step, dust can get trapped under the finish and cause bumps.
For the final cleaning, use a solvent like mineral spirits or denatured alcohol. These products remove oils, wax, and any leftover residue from the wood. Pour a small amount of solvent onto a clean cloth or fine steel wool. Wipe the wood surface gently and evenly. Do not use water, as it can damage the wood. Always work in a well-ventilated area and keep away from open flames, since solvents are flammable.
Technical studies and woodworking standards show that using solvents after sanding improves coating adhesion. The ASTM Standard D 905-04 and the Wood Handbook both recommend solvent cleaning for better finish results. Research also shows that coatings stick better to wood cleaned with solvents than to untreated surfaces.
Let the wood dry completely before you move to the next step. If you still see residue or old finish, repeat the solvent cleaning process. This careful removal helps your finish last longer and look better.
Tip: Solvent cleaning up dust is the final step before finishing. It prepares the wood for stain, paint, or varnish.
You can make your project safer and smoother by working clean from start to finish. Always keep your workspace tidy and free from clutter. Good ventilation helps remove dust from the air, so open windows or use fans when possible. Use HEPA-filter vacuums instead of sweeping or blowing dust, which only spreads it around. Place extraction units close to where you sand to catch dust right away. Store dust and sanding waste in sealed bags or containers and remove them from your area as soon as possible. Clean your tools and vacuum filters often to keep them working well.
Tip: Wipe down surfaces and floors regularly during your project. This prevents dust from building up and makes cleaning easier at the end.
Many people make simple mistakes that ruin their finish. If you let dust settle on the wood before finishing, you may see bumps or cloudy spots. Skipping the tack cloth step leaves fine dust behind, which affects the look and feel of your project. Using too much water during cleaning can damage the wood or raise the grain. Always wear protective gear like masks and gloves to avoid breathing in dust or getting it on your skin. Seal off your work area with plastic sheets and use air purifiers to keep dust from spreading.
Do not use the wrong cleaning products for your wood type.
Never rush the cleaning process.
Always check your work at eye level before moving to the next step.
Some projects need extra care for effective dust removal. If you work with oily or exotic woods, use the right cleaning agents to remove natural oils before finishing. For wood with knots or stains, clean these spots carefully to avoid problems later. When you apply more than one coat of finish, clean between each coat to keep the surface smooth. If you work in a large space or on floors, use dust containment systems and monitor air quality to protect your health and your finish.
Note: Following these steps helps you achieve effective dust removal and a professional result every time.
You need special tools for removing dust after sanding wood floors. A vacuum cleaner with a bristle brush attachment works best for picking up dust from cracks between floorboards. Use a HEPA filter in your vacuum to trap fine particles and keep the air clean. For large areas, a wide microfiber mop helps you cover more space quickly. Tack cloths are useful for picking up tiny dust particles that vacuums and mops might miss. Keep a bucket, clean water, and a small amount of vinegar ready for mopping. You should also have screwdrivers to remove floor vents and air returns. This lets you clean inside the vents and stop dust from spreading through your home.
Tip: Always check your tools before you start. Clean brushes and empty vacuum bags help you get better results.
Cleaning wood floors after sanding takes careful steps. Start by vacuuming the entire floor. Move slowly and use the bristle brush to reach between planks. Pay extra attention to corners and edges. Next, mop the floor with warm water and add a tablespoon of vinegar. This helps dissolve and lift wood dust. Wipe in the direction of the wood grain to avoid streaks and residue. Let the floor dry completely. After drying, use a tack cloth to pick up any fine dust left behind.
Remove floor vents and vacuum inside the ductwork. This step stops dust from blowing back onto your clean floor.
Repeat the vacuuming and mopping steps if you see any dust left, especially on rough or uneven surfaces.
Always vacuum between each coat of finish for a flawless look.
A study in New Jersey homes showed that a three-step process—vacuuming, wet washing, and repeat vacuuming—removes dust as well as more expensive methods. Repeat cleaning may be needed for rough floors to make sure you get thorough dust removal. Using these dust removal techniques gives you a clean surface and helps your finish last longer.
Note: Large surfaces need extra care. Take your time and check every part of the floor for dust before you start finishing.
You can achieve a flawless wood finish by following each cleaning step after sanding. Removing dust with vacuums, cloths, and solvents prepares the surface for stain or paint and keeps you safe from harmful particles.
Clean all dust with vacuums, cloths, and tack cloths.
Use mineral spirits or denatured alcohol for a final wipe.
Inspect the wood at eye level before finishing.
Finish your project soon after cleaning to prevent new dust.
Thorough cleaning gives you a smooth, beautiful result and protects your health.
Check the surface at eye level under bright light. Run your hand over the wood. If you feel no dust and see no particles, the wood is ready for finishing.
Tip: Use a tack cloth for a final wipe to catch any hidden dust.
Avoid using water. Water can raise the wood grain and cause swelling. Use a vacuum, microfiber cloth, or tack cloth instead. For deep cleaning, choose mineral spirits or denatured alcohol.
You may see bumps, streaks, or a rough finish. Dust can stop the finish from sticking. You also risk breathing in harmful particles. Always clean before applying any finish.
A tack cloth helps remove fine dust that vacuums and cloths miss. For a smooth, professional finish, you should use one. If you skip this step, small particles may stay on the wood.
Yes. Dust can settle on the surface between coats. Lightly sand, then clean with a tack cloth before adding the next coat. This keeps your finish smooth and even.


